Mastering View Binding in Android: A Complete Guide for Clean and Efficient Code
3 min readNov 8, 2024
In this story, we’ll take a deep dive into ViewBinding in Android. We’ll go through step-by-step examples, covering ViewBinding usage in Activities, Fragments, AlertDialogs, RecyclerViews, and more.
android {
    namespace = "com.famouscoader.viewmodelexample"
    compileSdk = 35
// Code for viewBinding Enabling ( Start )
    buildFeatures {
        viewBinding = true
    }
//code end of viewBinding
}
class MainActivity : AppCompatActivity() {
    private lateinit var binding: ActivityMainBinding
    lateinit var userViewModel: UserViewModel
    lateinit var userRecyclerListAdapter: UserRecyclerListAdapter
     var userDataList = ArrayList<UserModel>()

    @SuppressLint("MissingInflatedId", "NotifyDataSetChanged")
    override fun onCreate(savedInstanceState: Bundle?) {
        super.onCreate(savedInstanceState)

        binding = ActivityMainBinding.inflate(layoutInflater) // add this line
        setContentView(binding.root)// add this line

    }
}
Why ViewBinding in Android
- Binding Class Naming: The generated binding class name is the layout file name with
Bindingappended. - Null Safety: Ensure proper null safety checks, especially when using the binding object outside the lifecycle scope.
- Lifecycle Awareness: Be mindful of the binding object’s lifecycle. Release it when the view is destroyed to avoid memory leaks.
- Avoid findViewById: View Binding eliminates the need for
findViewById, making your code cleaner and more efficient.
In starting we have seen example of ActivityBinding
Fragment Binding
class HomeFragment : Fragment() {
// declaring nullable var because while destroying view we can do it null
    private var _binding: FragmentHomeBinding? = null
    private val binding get() = _binding!! //it will be always non-nullable

    override fun onCreateView(
        inflater: LayoutInflater, container: ViewGroup?,
        savedInstanceState: Bundle?
    ): View {
        _binding = FragmentHomeBinding.inflate(inflater, container, false)
        return binding.root
    }

    override fun onViewCreated(view: View, savedInstanceState: Bundle?) {
        super.onViewCreated(view, savedInstanceState)
        binding.fragmentTextView.text = "Hello, Fragment ViewBinding!"

    }
    override fun onDestroyView() {
        super.onDestroyView()
        _binding = null // it is important to set null because of avoiding memory leaks
    }

}
AletDialog Binding
class MainActivity : AppCompatActivity() {
    private lateinit var binding: ActivityMainBinding

    override fun onCreate(savedInstanceState: Bundle?) {
        super.onCreate(savedInstanceState)

        binding = ActivityMainBinding.inflate(layoutInflater)
        setContentView(binding.root)

        showCustomDialog() // call when you need
    }

        fun showCustomDialog() {
            val binding = MyCustomeDialogBinding.inflate(LayoutInflater.from(this))
            val dialog = AlertDialog.Builder(this)
                .setView(binding.root)
                .create()

            binding.titleTextView.text = "This is Custom Dialog"
            binding.okAlertDialogButton.setOnClickListener {

                dialog.dismiss()
            }

            dialog.show()
        }

}
<?xml version="1.0" encoding="utf-8"?>
//file name my_custome_dialog
<LinearLayoutx
xmlns:android="http://schemas.android.com/apk/res/android"
android:layout_width="match_parent"
android:layout_height="match_parent"
android:orientation="vertical">
<TextView
android:id="@+id/titleTextView"
android:layout_width="match_parent"
android:layout_height="wrap_content"
android:textColor="@color/black"/>
<Button
android:id="@+id/okAlertDialogButton"
android:layout_width="match_parent"
android:layout_height="wrap_content"
android:text="Ok"
android:layout_margin="50dp"/>
</LinearLayout>
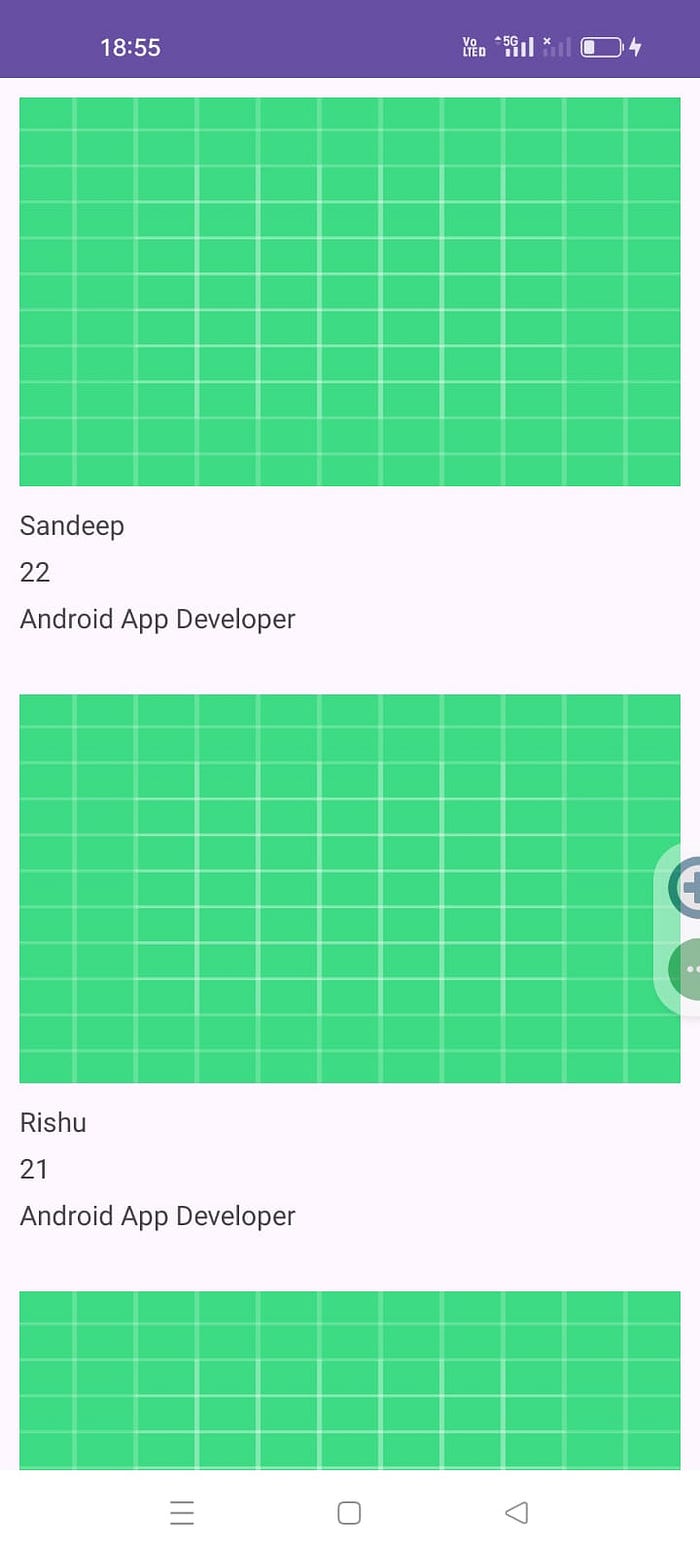
RecyclerView Binding
package com.famouscoader.viewmodelexample

import android.annotation.SuppressLint
import android.view.LayoutInflater
import android.view.View
import android.view.ViewGroup
import android.widget.ImageView
import android.widget.TextView
import androidx.recyclerview.widget.RecyclerView
import androidx.recyclerview.widget.RecyclerView.ViewHolder
import com.famouscoader.viewmodelexample.databinding.UserItemLayoutBinding

class UserRecyclerListAdapter(val userList: ArrayList<UserModel>? = null) :
    RecyclerView.Adapter<UserRecyclerListAdapter.UserViewHolder>() {

    @SuppressLint("NotifyDataSetChanged")
    fun refreshList(user: List<UserModel>) {
        userList?.clear()
        userList?.addAll(user)
        notifyDataSetChanged()
    }

    override fun onCreateViewHolder(parent: ViewGroup, viewType: Int): UserViewHolder {
//        val view=LayoutInflater.from(context).inflate(R.layout.user_item_layout,parent,false)
        val binding =
            UserItemLayoutBinding.inflate(LayoutInflater.from(parent.context), parent, false)
        return UserViewHolder(binding)
    }

    override fun getItemCount(): Int {
        return if (userList?.size == null) {
            0
        } else {
            userList.size
        }

    }

    override fun onBindViewHolder(holder: UserViewHolder, position: Int) {
        val user = userList?.get(position)


//        before viewBinding
       /* holder.image.setImageResource(R.drawable.ic_launcher_background)
        holder.nameText.text=user?.name
        holder.ageText.text=user?.age.toString()
        holder.addressText.text=user?.address
        */

        /*
          ------ After view Binding --------
         */
        holder.binding.imageView.setImageResource(R.drawable.ic_launcher_background)
        holder.binding.nameText.text = user?.name
        holder.binding.ageText.text = user?.age.toString()
        holder.binding.addressText.text = user?.address
    }
// Before Binding
    /*class UserViewHolder (itemView: View):ViewHolder(itemView){
        val image=itemView.findViewById<ImageView>(R.id.imageView)
        val nameText=itemView.findViewById<TextView>(R.id.nameText)
        val ageText=itemView.findViewById<TextView>(R.id.ageText)
        val addressText=itemView.findViewById<TextView>(R.id.addressText)
    }
     */

    /* ----- After Binding------*/
    class UserViewHolder(val binding: UserItemLayoutBinding) : ViewHolder(binding.root)
}
By following these guidelines, you can effectively use View Binding to streamline your Android app development and improve code quality.
Thanks for reading if you got helpful please Clap and Follow for next Interesting story.